From an empty sheet to a released cutlist
How Wiring Studio models a harness, what it derives from that model, and how each view feeds the bill of materials and the cutlist.
Chapters
Last updated 3 September 2026
PDF export
Export produces one PDF containing any combination of the five views, across the sheets you choose. It is how the project leaves the app — a production package for the bench, a costed document for a customer, or a full record for the archive.
Opening the dialog
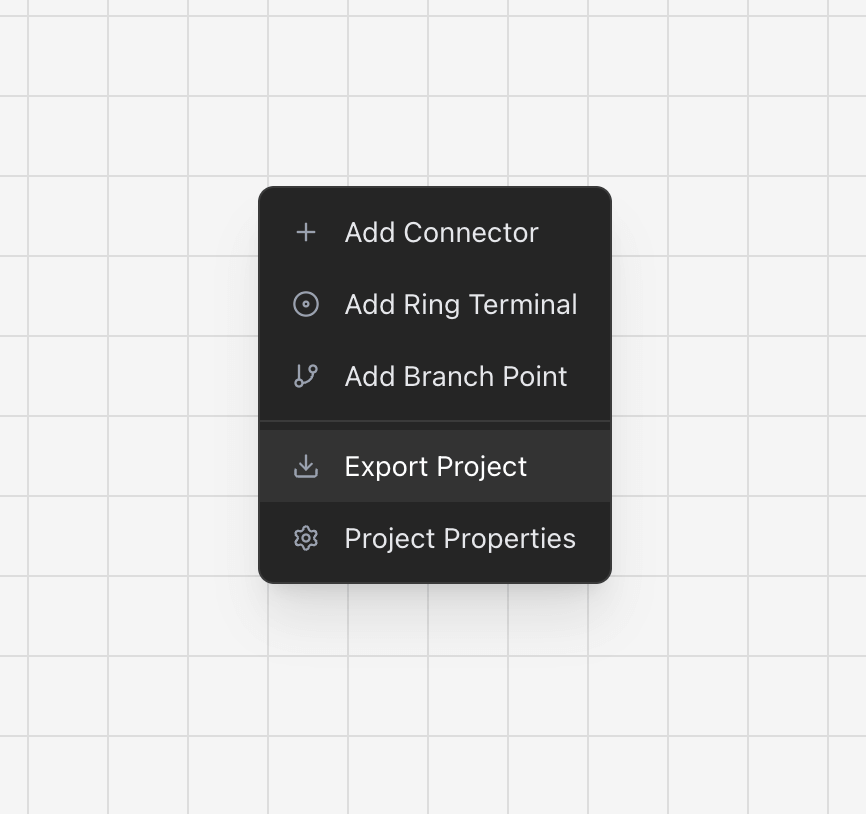
Open Export Project from the actions panel, from the canvas context menu, or with Cmd/Ctrl + E in the desktop app.
Choosing what goes in
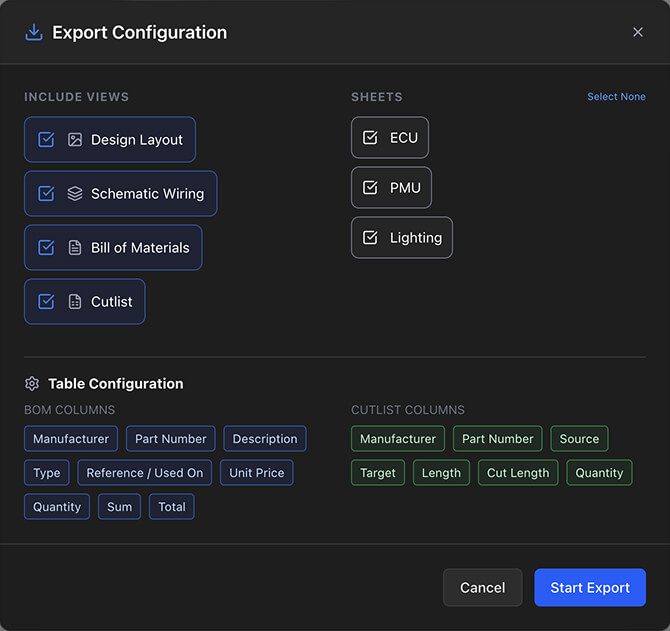
Five views can go into the document, in any combination.
- Design Layout — the Design canvas captured as an image, with every component, cable and label.
- Schematic Wiring — the Wiring canvas, showing the pin-to-pin connections.
- Pin Configuration — the cavity table for each connector.
- Bill of Materials — the BOM table.
- Cutlist — the cut list table.
Sheets
Tick the sheets to include, or use the select-all and select-none controls. Each selected sheet contributes its own copy of each selected view, so a three-sheet project exported with all five views produces fifteen sections.
To produce a single sheet's BOM, untick every other sheet and every view except Bill of Materials. It is the quickest way to a document for quoting one harness variant.
Table columns
Each of the three tables can have columns turned off, so the document says only what its reader needs.
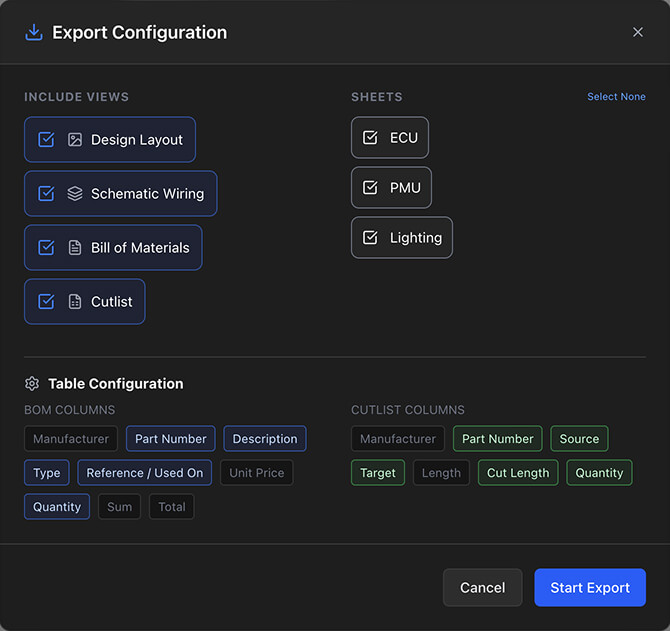
- Bill of Materials — Manufacturer, Part Number, Description, Type, Reference / Used On, Unit Price, Quantity, Sum, Total.
- Cutlist — Manufacturer, Part Number, Source, Target, Length, Cut Length, Quantity.
- Pin Configuration — Pin, Description, Contact, Wire Seal / Cavity Plug, Network, Wire, Color Code, Destination.
Fewer columns means wider cells. Dropping Unit Price, Sum and Total from the BOM is both what makes a document safe to hand out and what makes it readable.
Running the export
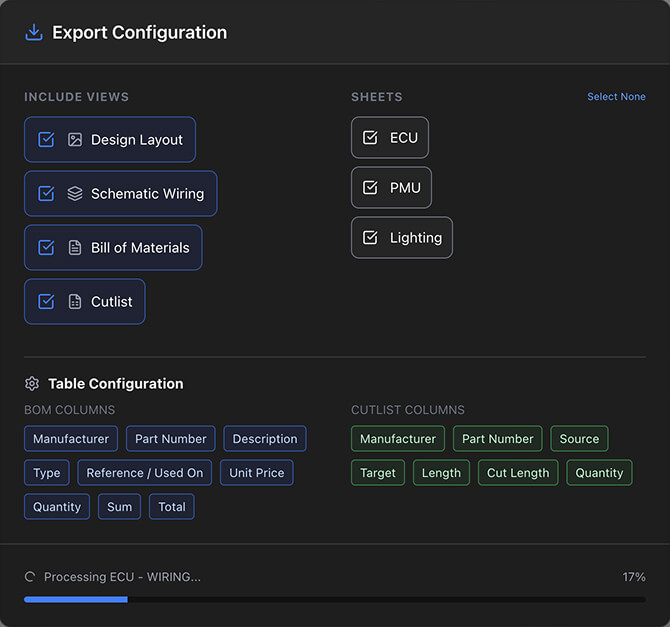
Start the export and a progress indicator names what it is working on — preparing the design layout, generating the schematic, building the bill of materials, creating the cut list. The PDF downloads when it finishes.
Export runs entirely on your own machine, so it works offline and nothing about the project is sent anywhere to produce it.
What the PDF looks like
- Filename — the project name.
- Page size — landscape A4.
- Title block — every page carries the project name, the sheet name and the date.
- Page numbering — page X of Y on every page.
- Layout — each view starts on a new page; canvas captures fill the page inside the title block; a table longer than a page continues with its column headers repeated; each sheet's views are grouped together.
The canvas captures cover the full extent of the drawing, not what is currently on screen, so the zoom level you happen to be at makes no difference.
Common combinations
- Full documentation — every view, every sheet. For the archive or for a customer handover.
- Production package — BOM and Cutlist only, with Unit Price, Sum and Total turned off. Everything the bench needs and nothing it should not have.
- Design review — Design Layout and Schematic Wiring only. A visual document for a review meeting.
- Assembly instructions — Pin Configuration plus Design Layout, so the person crimping can see both the table and where the connector sits.
Before you export
Related chapters
Where this chapter leads next, and what it assumes you have already read.
BOM and cut list
Two outputs derived from the sheet: how quantities, pricing, multipliers and cut lengths are worked out.
Drawing the harness
The formboard canvas: placing components, routing and shaping cables, and setting the lengths those carry.
Project settings
Four settings with a long reach — units, the cutlist and price multipliers, and marker length.