From an empty sheet to a released cutlist
How Wiring Studio models a harness, what it derives from that model, and how each view feeds the bill of materials and the cutlist.
Chapters
Last updated 3 September 2026
Reusable components
A reusable component is a piece of harness you have already built, saved so you can drop it into another project. Everything comes with it: the design nodes, the cables between them, the wiring connections, the pin configuration and the extra parts.
What they are for
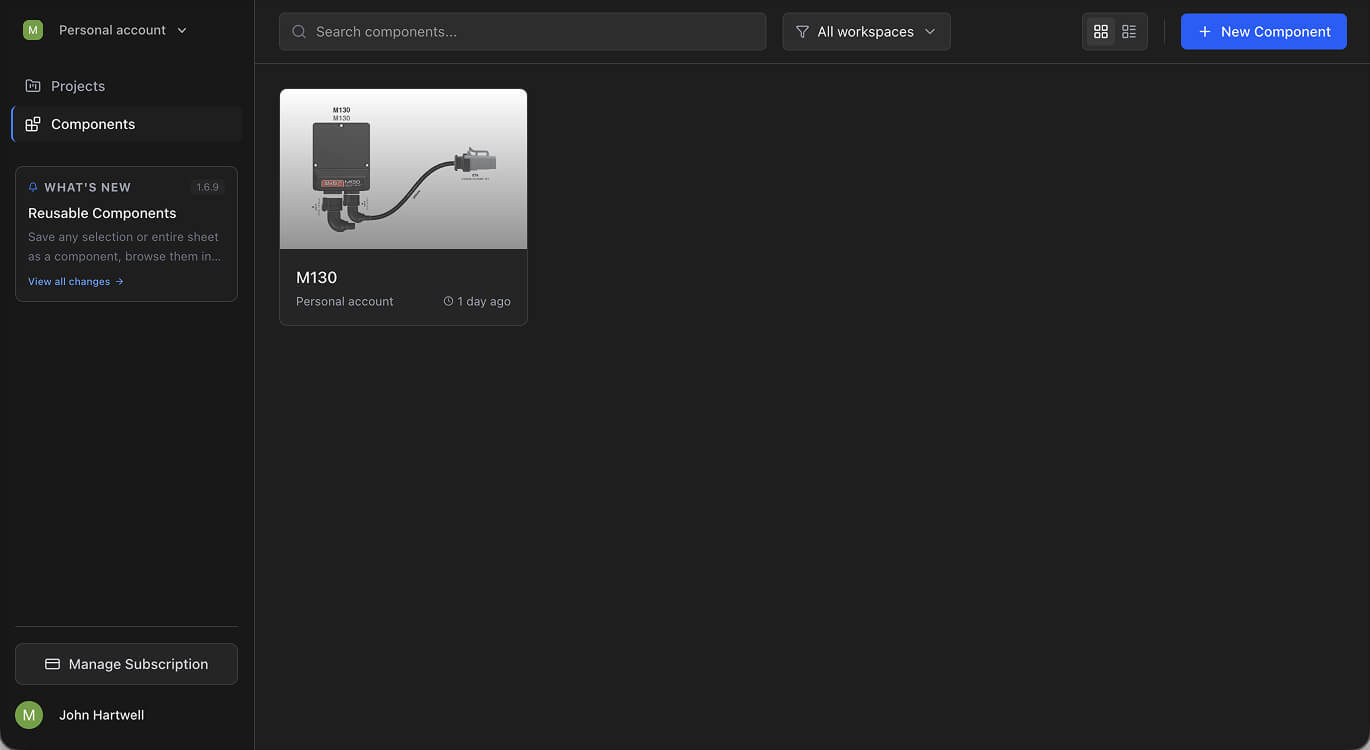
If you build the same connector-to-splice pattern, the same sensor pigtail or the same door harness on every job, build it once and save it. Inserting it later takes one click and carries the wiring with it, so there is nothing to re-enter in Pin configuration.
Saving a component
From a selection
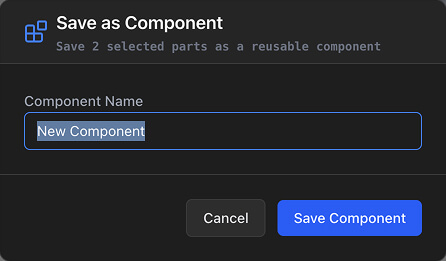
The selected components, their cables, wiring, pin configuration and parts are extracted into a new component. A toast confirms the save with a link to open it.
From a whole sheet
Right-click empty canvas and choose Save Sheet as Component to save everything on the current sheet in one go.
Name them so you can tell them apart in a list: "4-Pin Sensor Pigtail 22AWG" rather than "Sensor". Including the connector type, the circuit or the harness zone saves opening three of them to find the right one.
Browsing components
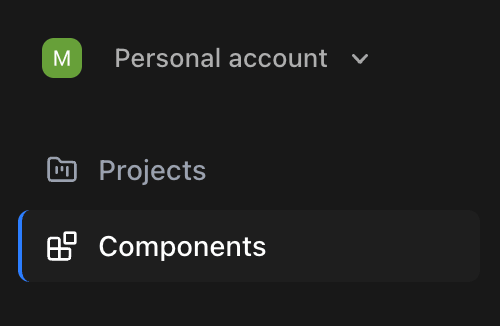
Saved components live under Components in the sidebar, beside Projects.
- Search filters by name.
- New Component starts a blank one from scratch.
- Clicking a card opens it.
A component opens in the same editor a project does, so you can change its design, wiring and pin configuration in the usual way. Each component has exactly one sheet, so there is no sheet bar.
Inserting into a project
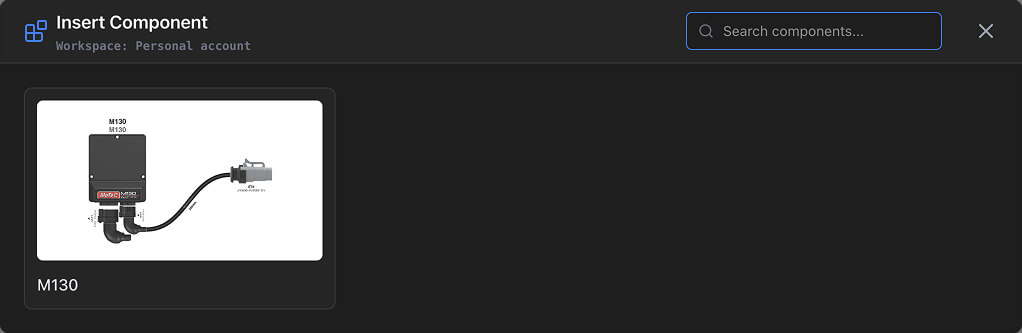
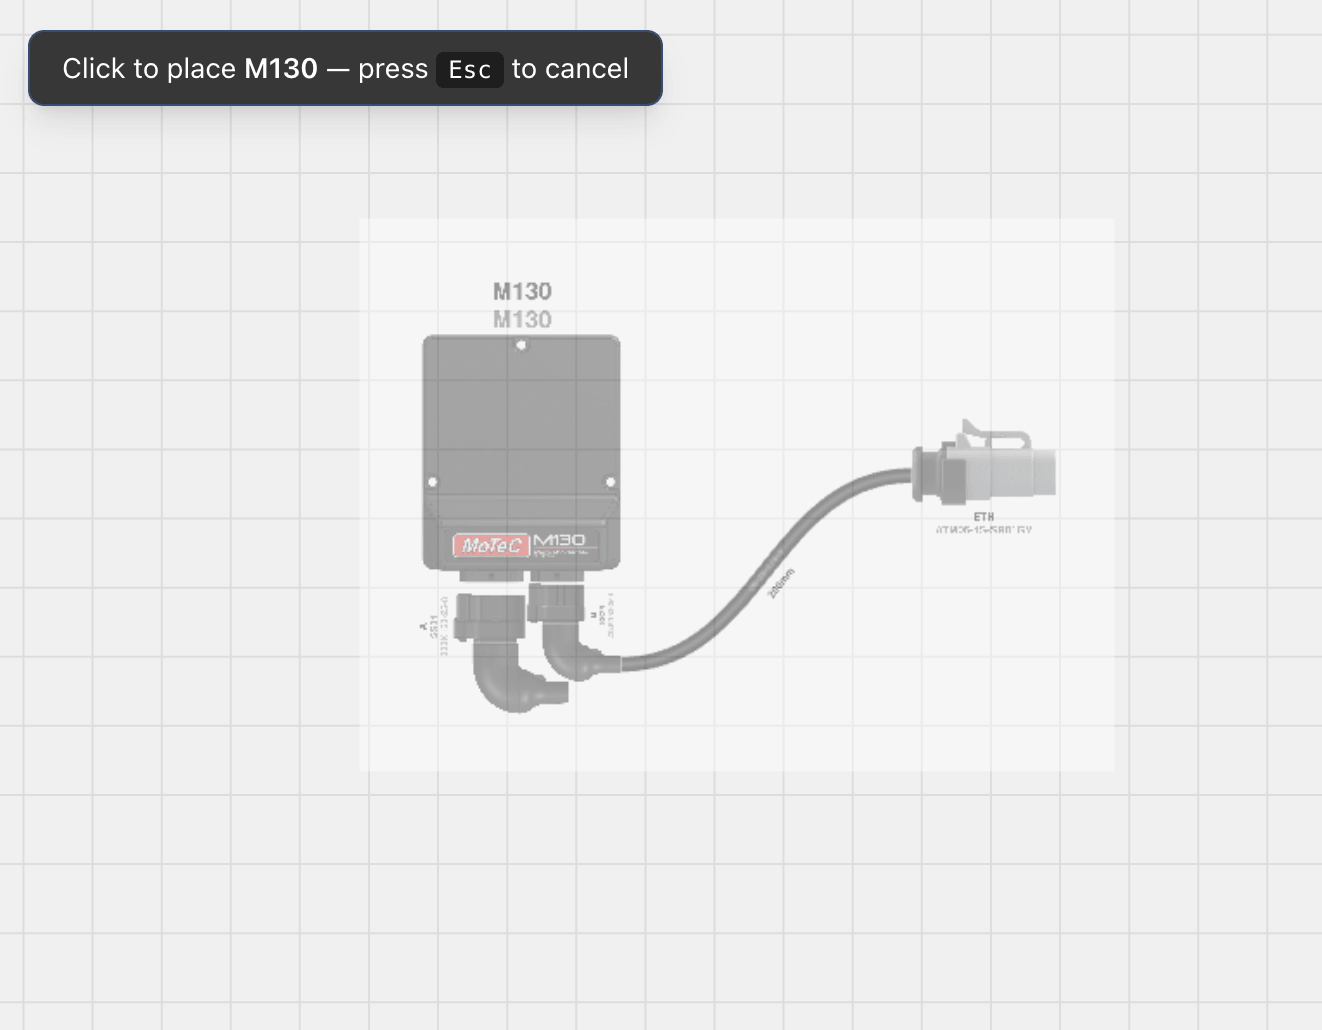
The component is deep-copied. Design nodes, cables, wiring connections, pin configuration, shielded cables, labels and extra parts are all duplicated. References to library parts are not — the copy points at the same connectors, wires and contacts, so nothing is duplicated in your library.
Once placed, the copy is independent. Editing it does not change the saved component, and editing the saved component does not change copies already placed. Insert Component is available in projects only, not inside another component.
Plan limits
Components have their own limit, separate from the project limit.
| Plan | Components |
|---|---|
| Free | 5 |
| Lite | 25 |
| Pro | Unlimited |
| Team | Unlimited |
At the limit, New Component and Save as Component are disabled. Upgrade or delete unused components to make room — see Pricing and plans. There is no limit on how many times a component can be inserted.
Working well with them
- Keep them small. One sub-assembly — a single connector with its pigtail — is far more reusable than a whole harness.
- Save early. If you have built the same thing twice, it should have been a component the first time.
- Keep the source current. When a standard assembly changes — a new connector part, a different pin count — update the saved component so future insertions get the new version.
- Check it after insertion. The design rule checks will tell you straight away if the copy landed with unassigned cavities or a cable with no length.
Related chapters
Where this chapter leads next, and what it assumes you have already read.
Parts and the library
Sixteen part categories, with the manufacturer data, pricing and properties the BOM and cut list report.
Sheets and workspaces
Splitting a harness across sheets, mating connectors between them, and who owns the projects above that.
Drawing the harness
The formboard canvas: placing components, routing and shaping cables, and setting the lengths those carry.